Fishing rods come in all shapes and sizes, but if you’re a passionate angler, you may be interested in taking your gear to the next level by building your own custom fishing rod. Not only will you have a rod that’s tailored to your specific needs, but the process of building can be an enjoyable and rewarding experience. In this blog post, we’ll go over the basics of custom fishing rod blank building.
Step 1: Choose Your Blank
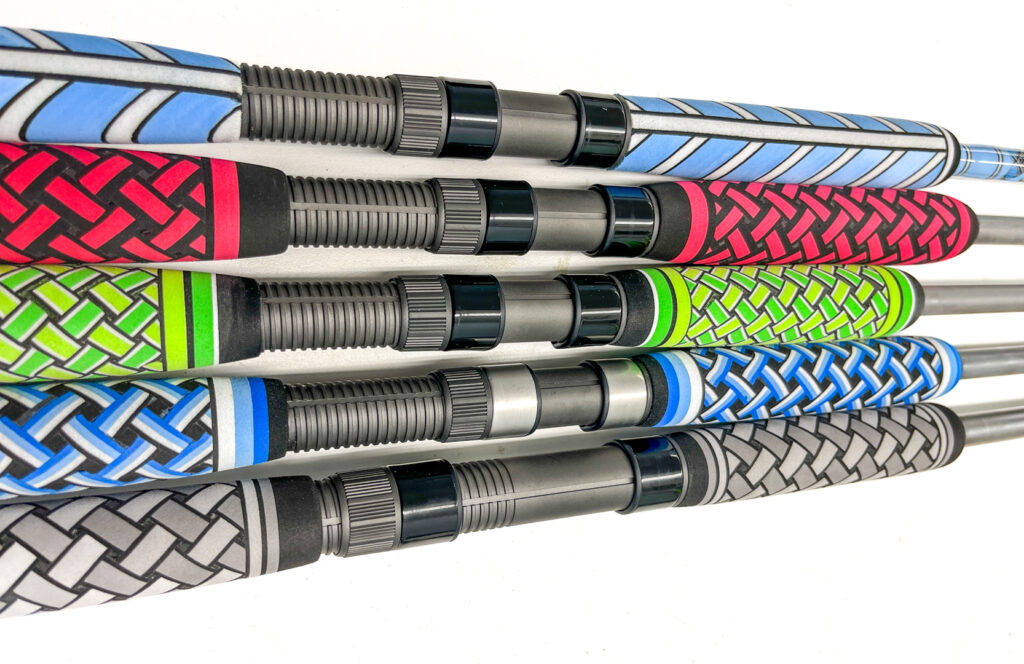
The first step in building a custom fishing rod is to select the blank, which is the long, thin, and hollow tube that is the base of all fishing rods. Blanks come in different lengths, diameters, and materials, including carbon fiber, fiberglass, and composite.
Carbon fiber is the most popular material because of its strength, sensitivity, and lightweight. Fiberglass is heavier but more durable, while composite is a blend of carbon fiber and fiberglass that combines the best of both worlds.
When selecting a blank, consider the type of fish you’ll be targeting, the fishing technique you’ll be using, and your personal preferences. For examples jig rods could mean very different things. You could be jigging for tautog/blackfish in NYC or throwing jigs at a dock in the local pond for bass.

Step 2: Prep the Blank
Once you have your blank, the next step is to prep it for the handle and reel seat. This involves cleaning the blank with a cloth, marking the spine (the part of the blank that’s stiffer and more responsive), and aligning the guides.
Step 3: Install the Handle and Reel Seat
The handle and reel seat are the parts of the rod that you’ll grip and attach the reel, respectively. There are many different types of handles and handle materials, including cork, foam, wood, and metal, each with their own advantages and aesthetics. Choose the one that fits your hand comfortably and complements the blank.
To install the handle and reel seat, you’ll need to measure and mark their positions on the blank, drill the necessary holes, and glue them in place with epoxy. It’s important to take your time and ensure that they’re aligned and centered properly.
Step 4: Add the Guides and Tip Top
The guides are an essential part of the rod that helps to distribute the load of the line evenly and prevent it from tangling or snapping. The number, size, and spacing of the guides depend on the type of blank and the fishing line you’re using. The tip top is the last guide at the end of the rod that guides the line out of the blank.
To add the guides and tip top, you’ll need to wrap them onto the blank with thread and epoxy, or using the new carbon fiber tape that we use here in house. You’ll start from the bottom and work your way up to the tip. This requires some skill and patience, but there are many tutorials and videos available online to guide you through the process.
Step 5: Finish the Rod
Once the guides and tip top are in place, you can add some finishing touches to your custom fishing rod, such as trimming the excess thread, adding a decorative wrap or inscription, and applying a coat of varnish or clear epoxy to protect and enhance the look of the rod.
Building a custom fishing rod is a challenging, but rewarding hobby that can enhance your fishing experience and showcase your creativity and craftsmanship. With some basic knowledge, tools, and materials, you can build a rod that fits your style and exceeds your expectations. Happy Building!