Fishing rods are an essential tool for any angler. They come in various shapes, sizes, and materials, and some anglers even prefer to build their own DIY fishing rods. While DIY fishing rods offer a sense of pride and customization, they also require proper maintenance and repair to ensure optimal performance. In this blog post, we’ll share some maintenance and repair tips to help you take care of your DIY fishing rods.
Check For Damages
The first step to maintaining your DIY fishing rod is to inspect it for any damage. Look for cracks, dents, and any other signs of wear and tear. If you notice any damage, address them immediately to prevent further damage to your rod. Some damage can be repaired, while others may require a replacement.
Clean Your Rod
After every fishing trip, it’s essential to clean your DIY fishing rod to remove any dirt, debris, or saltwater that may have accumulated. You can use a mild soap and warm water to clean your rod. Be gentle and avoid using abrasive materials that can scratch or damage your rod’s surface. Rinse thoroughly and let it dry before storing.
Replace Damaged Guides
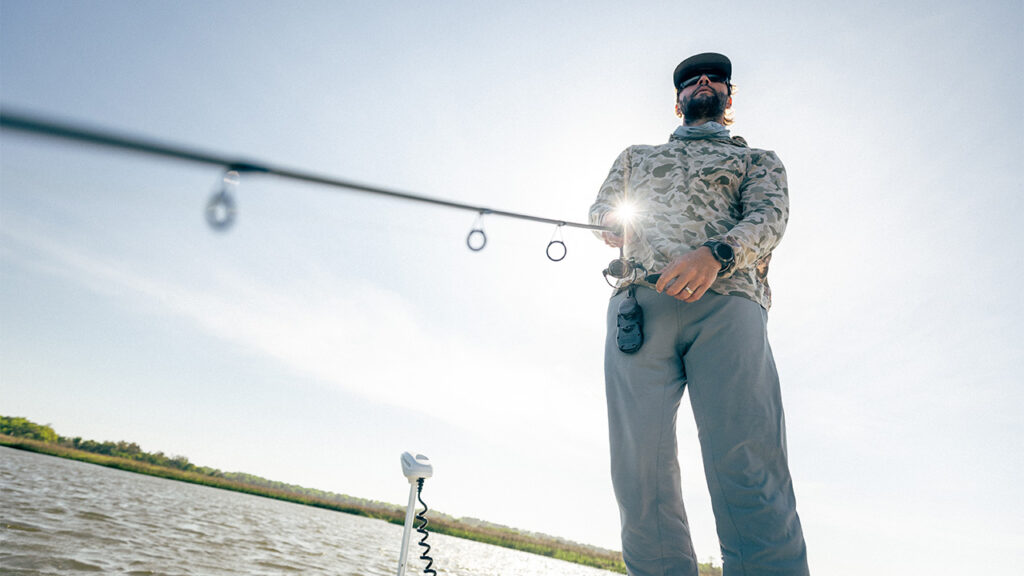
If you notice any damaged guides on your DIY fishing rod, it’s essential to replace them immediately. Damaged guides can cause the fishing line to break or tangle, leading to frustration and missed catches. Replacing guides is a simple process that can be done at home with the right tools and equipment.
Store Your Rod Properly
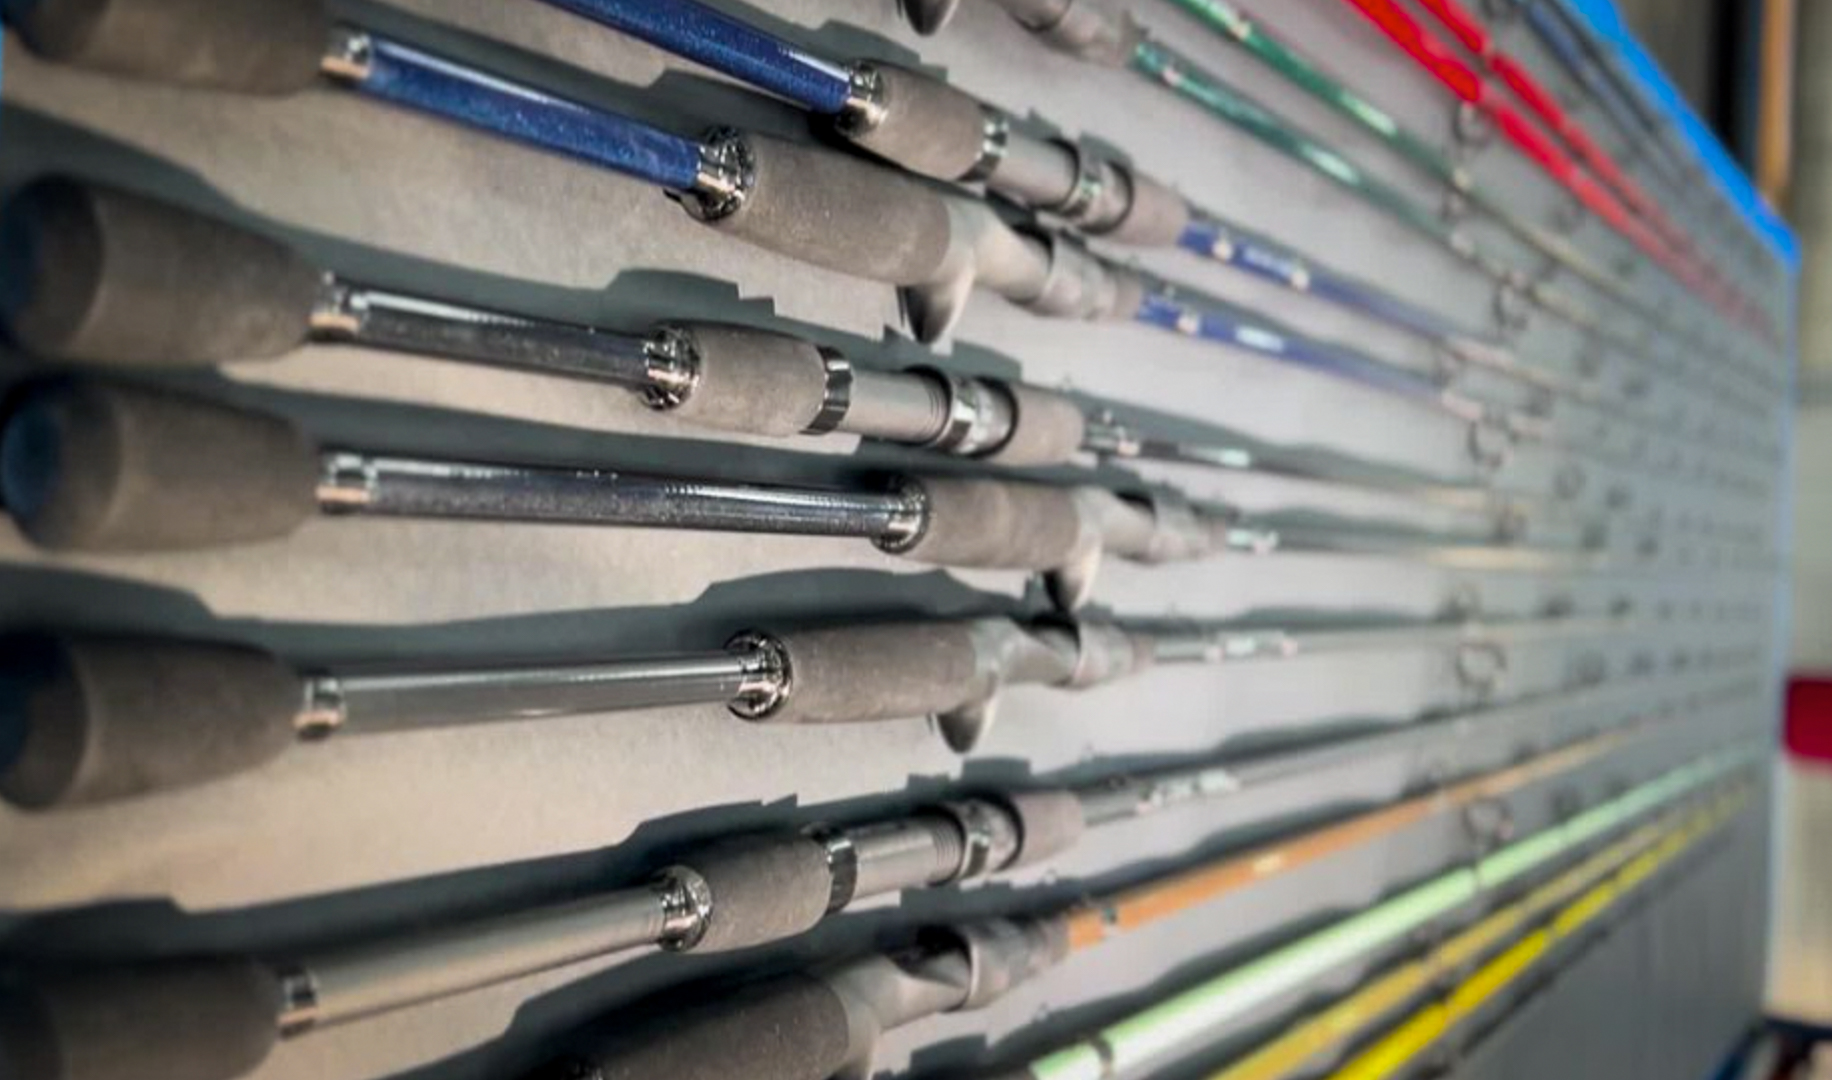
Storing your DIY fishing rod properly is essential to prevent damage and prolong its lifespan. When not in use, store your rod in a dry, cool place away from direct sunlight. You can also use a rod sleeve or tube to protect your rod from scratches and impacts during transport.
In conclusion, DIY fishing rods require proper maintenance and repair to ensure optimal performance and longevity. By following these maintenance and repair tips, you can keep your DIY fishing rod in excellent condition and enjoy a more successful and enjoyable fishing experience.


