I love so many aspects of building custom rods. While I focus heavily on decorative arts, I greatly emphasize functional arts, such as building rods that solve problems. Whether it be rod handle construction, guide layouts, or being intimately familiar with a particular fishing application and finding the correct blank for that technique/situation — I’ve always spent as much time refining my functional art as I have my decorative arts.
The most critical factor in producing a high-performing rod is knowing the fishery for which you are building the rod. Get out on the water fishing as much as possible, looking to refine every aspect of your custom rod. Once familiar with the fishery, you can select the proper blank (refer to a prior blog post on how to select the blank.)
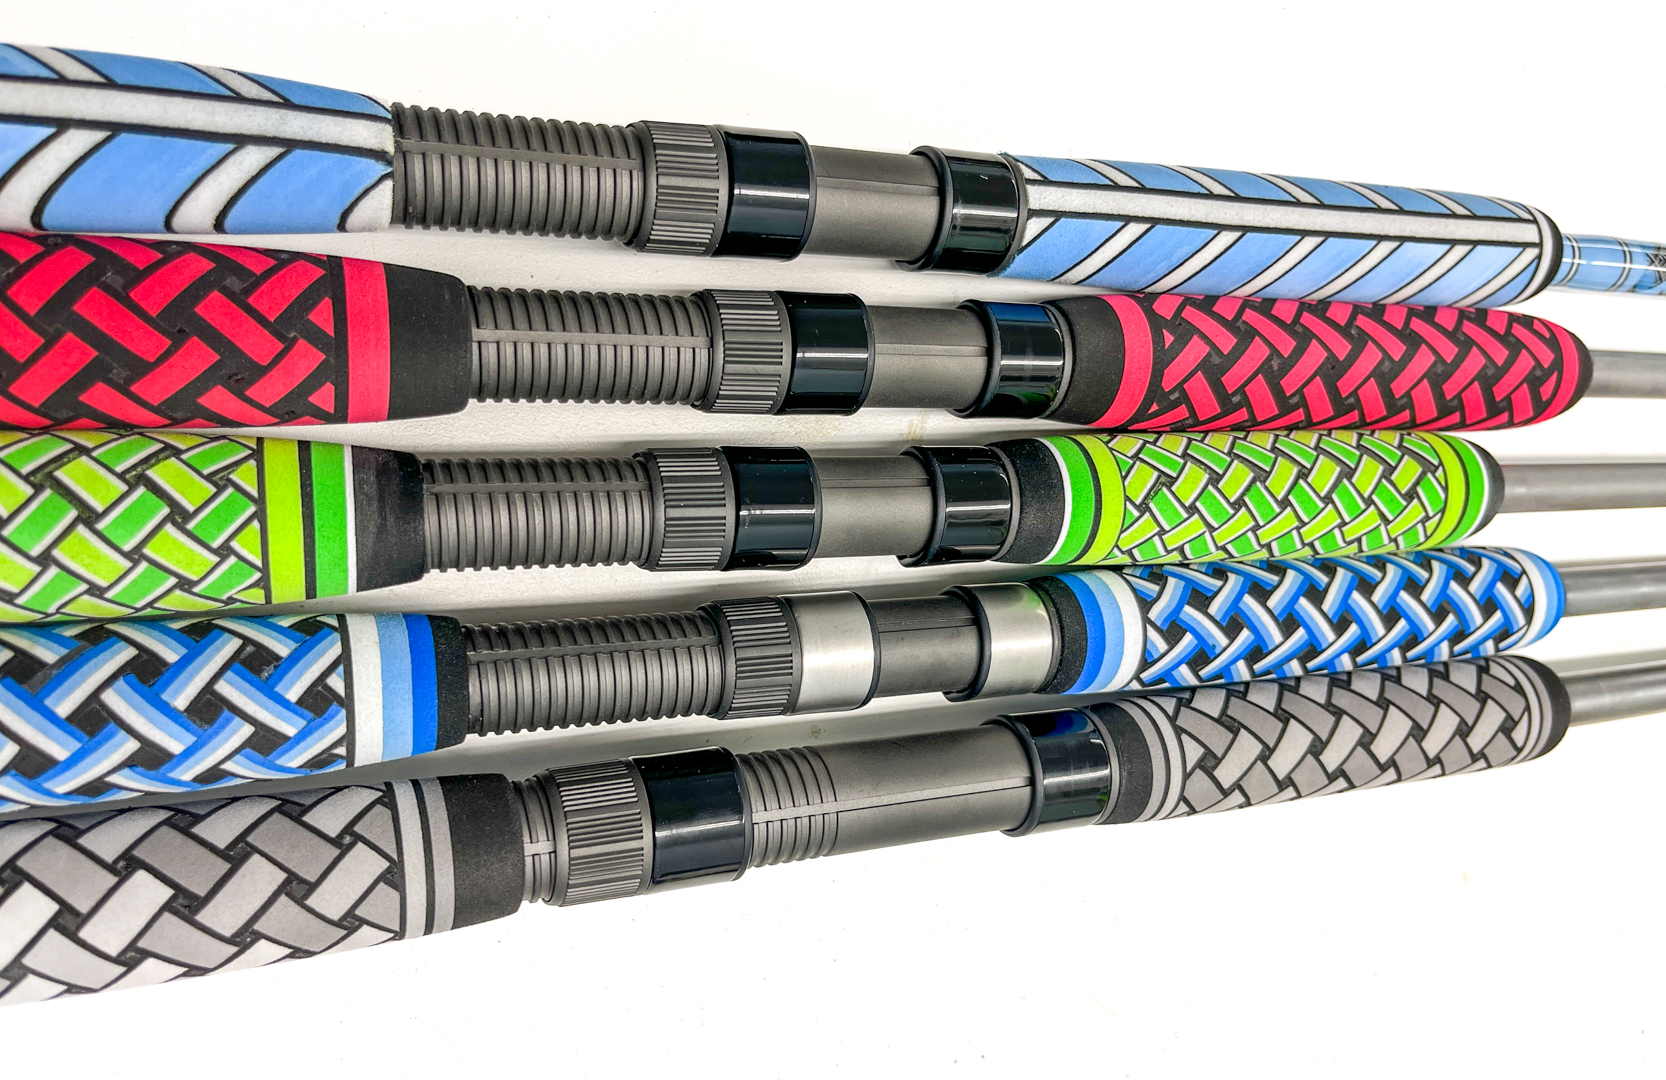
Another crucial aspect of rod building is the handle assembly. The right length, materials, contoured shapes, balance, and reel seat all contribute to the rod’s ability to perform at its maximum potential. While numerous variables must be considered when determining the handle length, the satisfaction of achieving the perfect balance is truly rewarding. Here are a few key points to guide you in this process.
Spinning vs. Casting/Conventional Grip Lengths
While you can use the same blank for both setups, the grip lengths will likely differ. If the back grip is too long for either setup, it can be cumbersome when trying to cast or work a lure. On a freshwater build, the front grip is often very short and quite often omitted, but on a saltwater rod or any application where you need to grab the front grip to fight the fish, you better make sure there’s a grip there, and it’s long enough, and the correct diameter or the rod will be highly uncomfortable to use
Balance
Most blanks under 7’6″ balance well enough with standard handle lengths to not worry about doing anything “special.” As a builder, you can shift the balance point on the rod using a couple of methods: make the back grip longer, which will push the reel further up the blank closer to the balance point, or add weight to the back of the rod. The materials you use can also change the balance point; burl cork is heavier than regular cork; if you have a top-heavy rod, you can add the burl cork to the back of the grip.
Remember that the reel should be taped to the blank when checking the rod’s balance and the components slid into place. Doing so will tell you exactly where the balance point is when you take the rod fishing versus just checking the balance point on a bare blank.
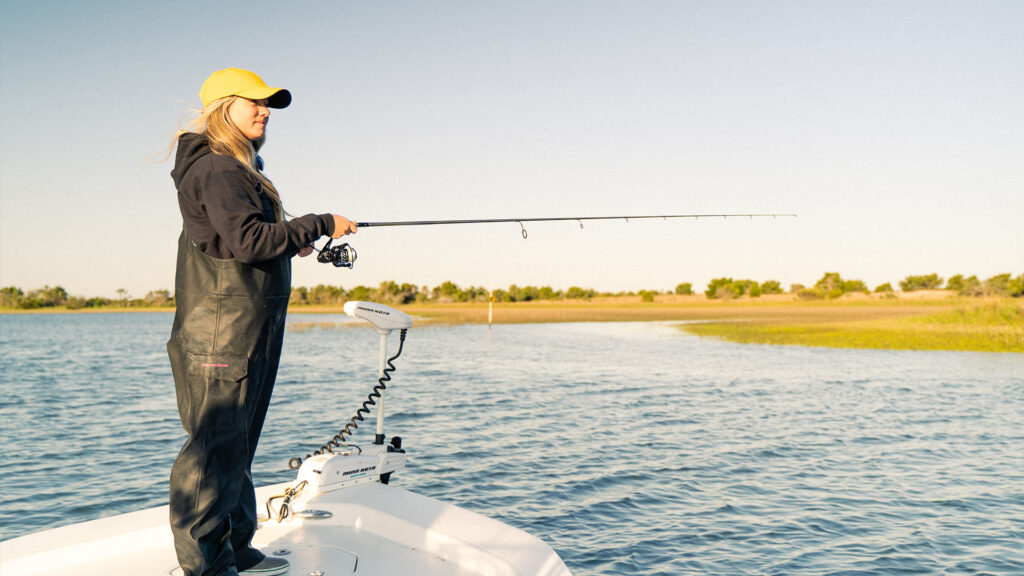
When building for others, consider the size of the person you are creating for. Many builders never consider checking to see how the fisherman holds the rod when they fish, and this will change the length of the back grip and possibly the size and shape of the front grip. For example, when I fish with a trigger seat, I spit the seat between my pinky and ring finger, while others split between their pointer and middle finger. This 2″ difference matters when trying to optimize a build.
Guides
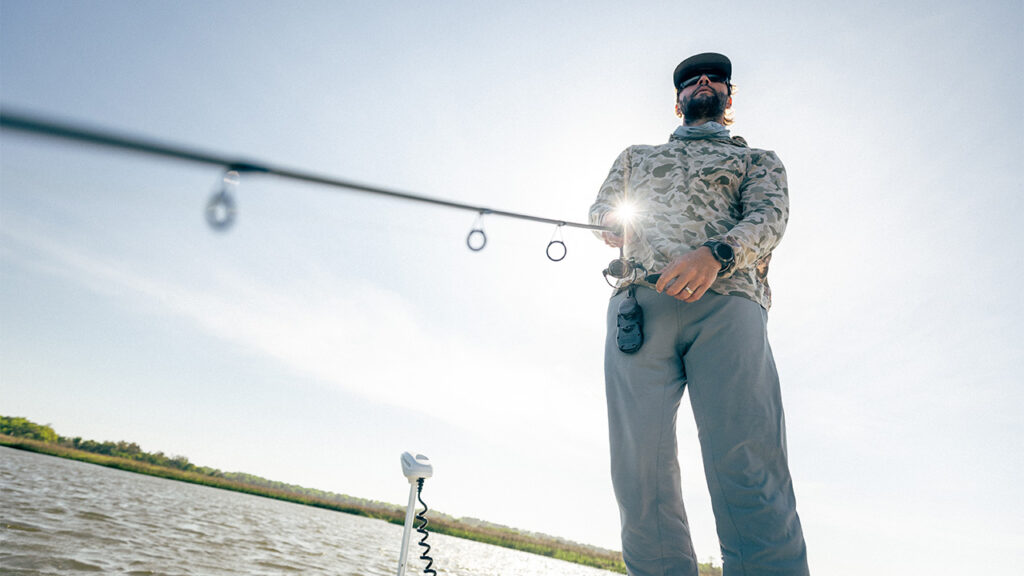
The final aspect of functional art is the guide layout. While there is so much information on various layouts, builders and fishermen will not use common sense. Please bear in mind the purpose for which the rod will be used. Building a rod with the lightest and smallest guides will make a rod more sensitive, but sensitivity is outside the top of the priority list for many fishing applications. Yet builders will build a saltwater rod with size six running guides and then tie a uni knot with thirty-pound braid and forty-pound mono, and the knot will get stuck on the guides.
-Billy Vivona


